SVG
Overview
Our SVG workflow uses an SVG sprite sheet to allow icons to be included anywhere while only specifying each icon's code in a single place. Use the IcoMoon app to create a sprite sheet.
Preparation
Ensure with the designer of the project that all strokes in svgs have been outlined. Having one single path is the ideal configuration for an svg. If you have Adobe XD and access to the project source files and need to outline a stroke: select the svg and go to
Object - Path - Outline Stroke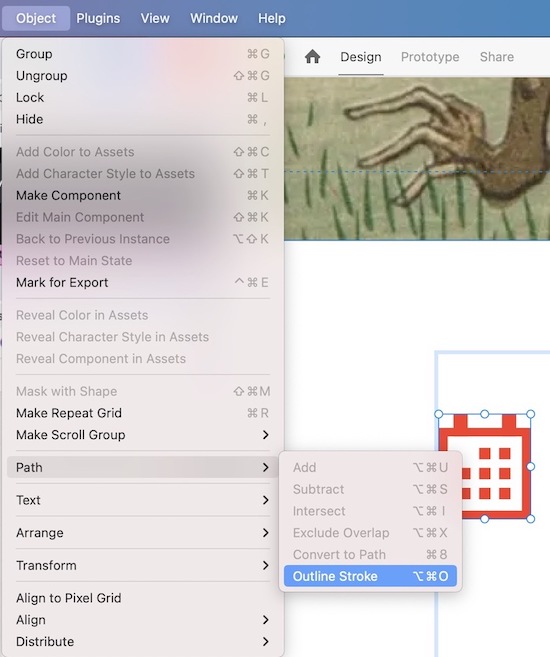
Remove any fill colors on elements in the svg, this will default colors to black so they can have color applied with css.
Provide a meaningful name for the icon (no need to include the word "icon" as it will be automatically added when using IcoMoon)
Optimize the
svgby running it through SVGOMG. Make sure that the "Prefer viewBox over width/height" option is checked in the Global Settings panel. This will replace any usages ofwidthandheightattributes withviewBoxwhich allows icons to be responsively scaled on a case-by-case basis.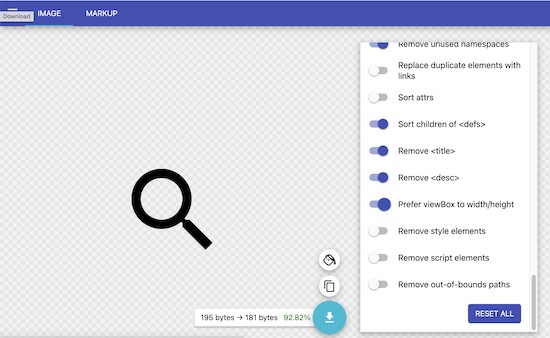
Create a sub-directory in your projects
imagesdirectory calledicons:your-project/source/images/icons., then create another sub-directory iniconscalledicomoon(your-project/source/images/icons/icomoon)Add your icon svgs here (not the sprite at this point, simply the source svgs if needed again later)
Create a sub folder called
icomoonwhere the filesselection.jsonandsymbol-defs.svgwill be placed and updated each time your icon set is updated through IcoMoon - this will allow for future usage and changes from other developersThe contents of the
symbol-defs.svgwill get copied into the file callediconset.twig(each time an update is made)
This sheet should be included as close to the opening body tag as possible. Generally it's easiest to create a template that contains the sprite sheet that you can then include in your base layout.
Using IcoMoon
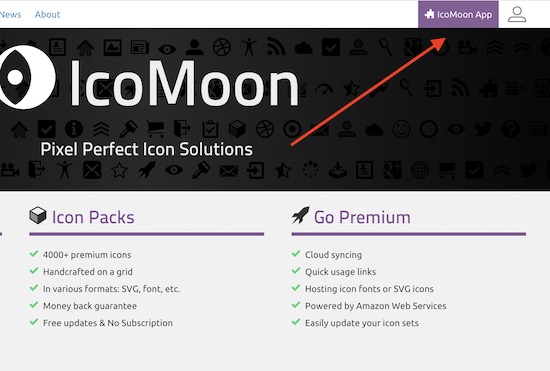
Go to icomoon.io and click IcoMoon App in the top-right corner
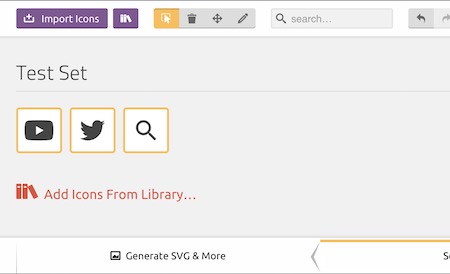
If starting a new project, click the hamburger menu in the top left and select "New Empty Set"
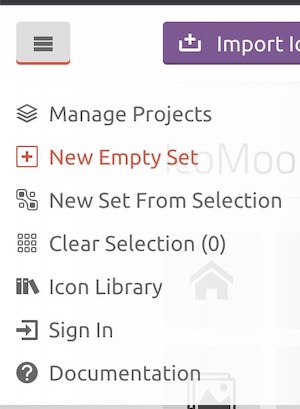
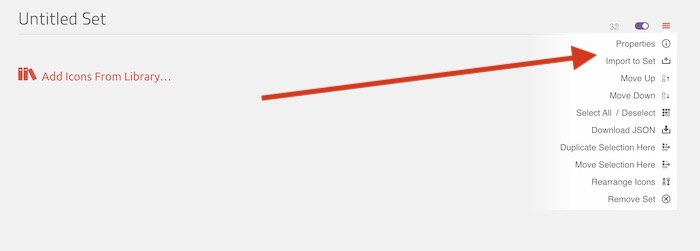
Click the hamburger menu that appears near the top right.
Choose "Properties" to update the set name
Choose "Import to Set" to import svgs from your machine
Once the icons are in the set and ready to be downloaded, choose "Generate SVG & More" from the bottom left
Your downloaded package will contain two files that you will need to pull into your project (or replace if you're updating your project as opposed to starting), these files are
selection.jsonandsymbol-defs.svg. Tracking these files in your repo ensures that you or another developer will be able to re-import into IcoMoon in the future (no login needed for IcoMoon - it uses local storage). The other files in the package can be deleted.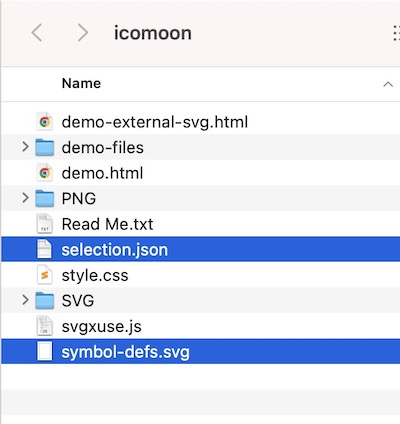
Place (or replace) the
selection.jsonandsymbol-defs.svgfiles into the directory created earlier atyour-project/source/images/icons
Adding to Your Project
- Copy the contents of the
symbol-defs.svginto a new file callediconset.svg. This ideally should exist (in Pattern Lab) atyour-project/source/_patterns/core/iconset/iconset.svg. Each time you update and re-download from IcoMoon, update the contents of this file to match. Older projects (including fractal) may not have this directory or file, so create to match as needed. - Ensure that
symbol-defs.svgis included on each page. In Pattern Lab in thehead.twigfile this is included after theskip-linkafter the opening<body>tag as{% include "@core/iconset/iconset.svg"%}. This allows usage of the sprites. - An example of using a sprite (note the use a
visible-for-screen-readersclass here in use if the icon is more than directory [i.e. if it's button to click, indicate what it does here]):
<span class="visible-for-screen-readers"
  >Name of icon for screen readers (if applicable)</span
>
<svg aria-hidden="true" width="20" height="20">
  <use xlink:href="#icon-id"></use>
</svg>