Buddy Pipeline Setup
We use the app Buddy to deploy code to our staging server. The idfive Component Library contains a buddy.yml file which will need some minor modifications in order to setup the pipeline properly.
- Here is Link to video version of the tutorial, however this is slightly out of date as some changes have taken place in the Buddy admin system since this video was created. Please refer to the below steps in addition to the video if needed.
Steps At A Glance
- Setup repo, buddy.yml file, and push
- SSH into staging server and create directory
- Create project in Buddy, imported from the repository
- Paste ssh key from Buddy onto server
- Deploy and confirm
Steps In Detail
Setup repo, buddy.yml file, and push
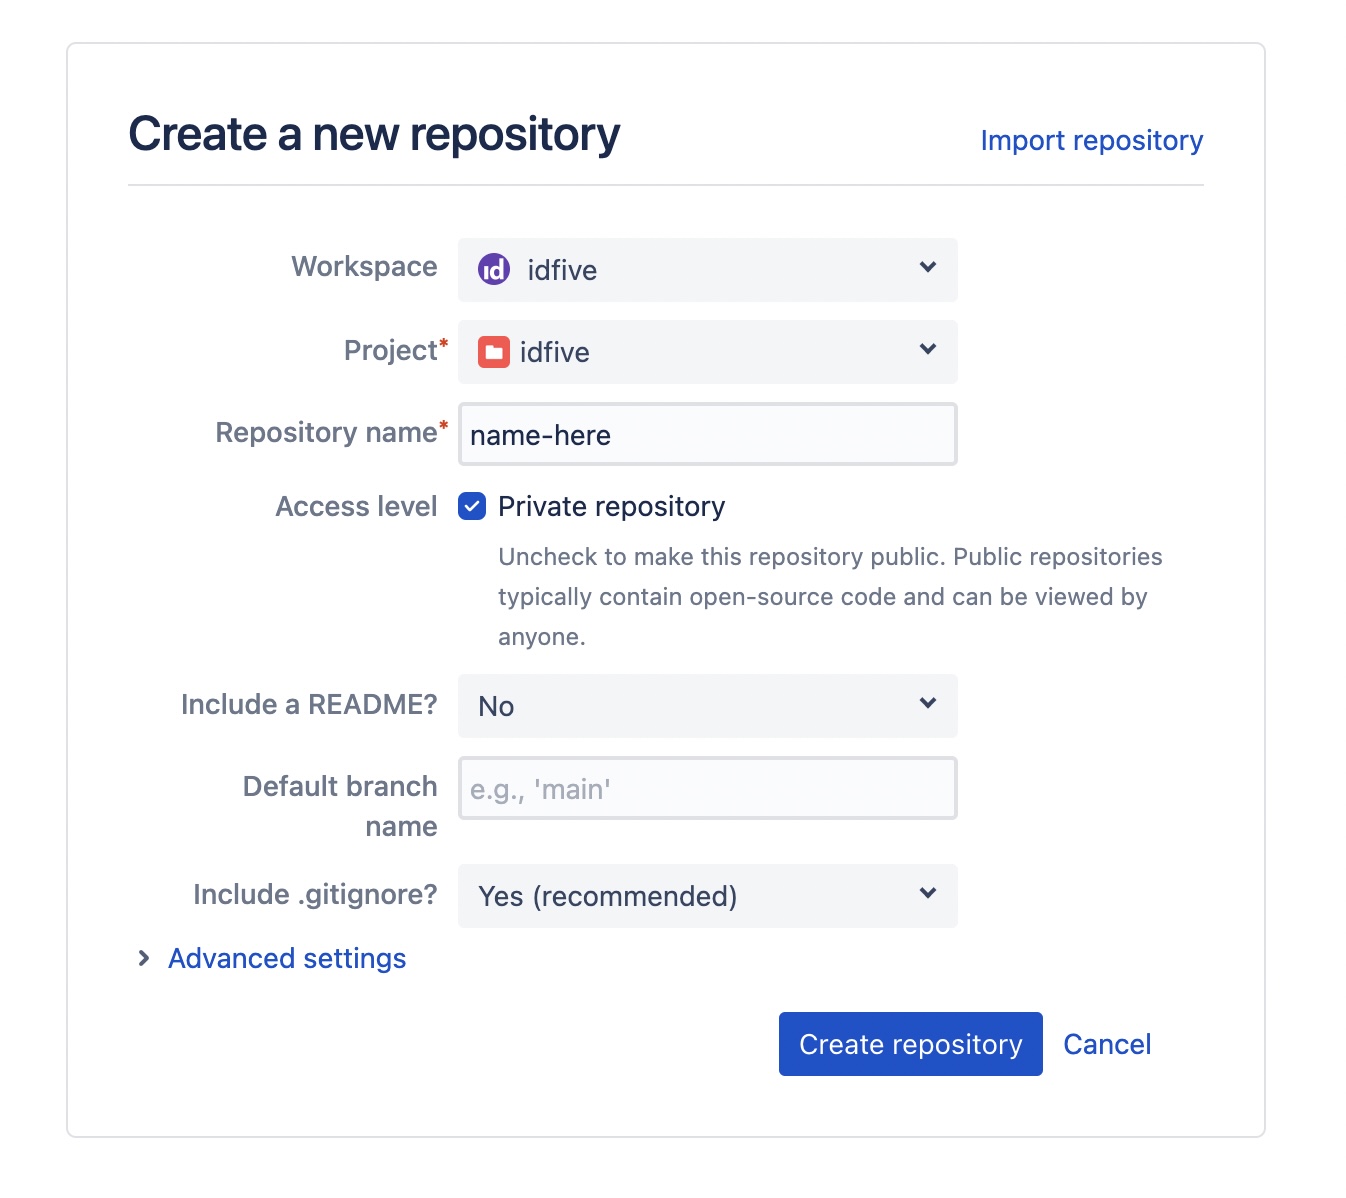
- In Bitbucket, select "Create" from the top menu and choose "Repository"
- The "Workspace" & "Project" should both be set to "idfive"
- Clone this newly created repository down to your local machine
- Download a copy of the idfive Component Library. Downloading is preferred here as opposed to cloning, to easily remove the git history
- Place the icl contents into the new repo
— Open up the
buddy.ymlfile (in the root) and update these two instances of the paths to your new project directory that you'll be creating in the next step: line 5 (target_site_url) and line 48 (remote_path), for exampletarget_site_url: "https://staging2.idfive.com/[path-to-your-directory]/"andremote_path: "/var/www/staging2.idfive.com/public_html/[path-to-your-directory]". Also ensure thatenv_keyis set to"id_project"on line 52
SSH into staging server and create directory
- In a terminal window enter
ssh idfive@staging2.idfive.comto ssh into the staging server cd /var/www/staging2.idfive.com/public_html/to navigate to thepublic_htmldirectory- Create a new directory (
mkdir) for your site to go into (should be the same as what was entered into the buddy.yml file previously)
Create project in Buddy, imported from the repository
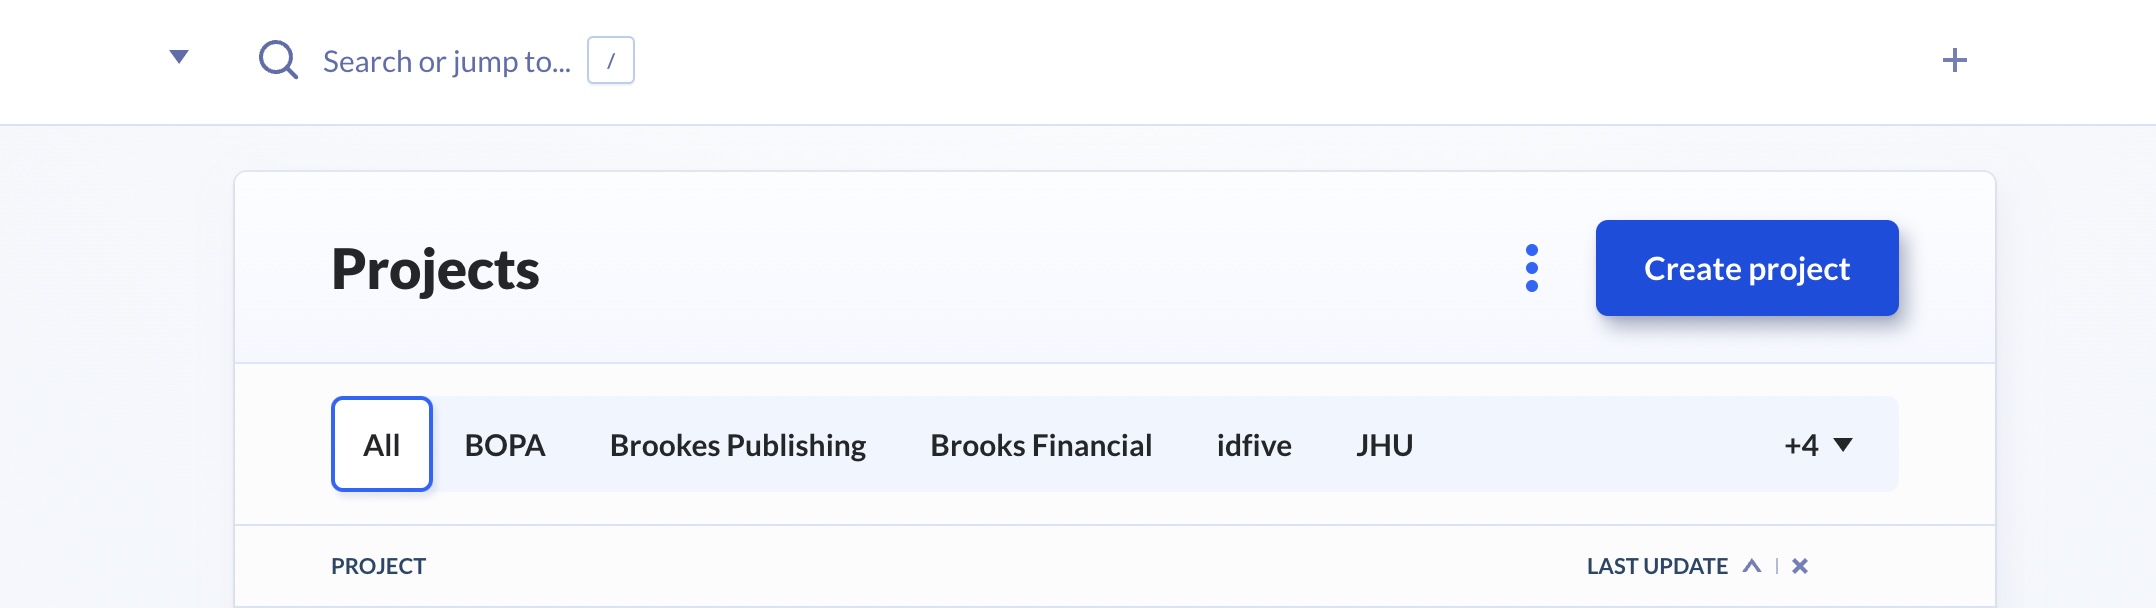
- From the main Buddy page, click "Create Project"
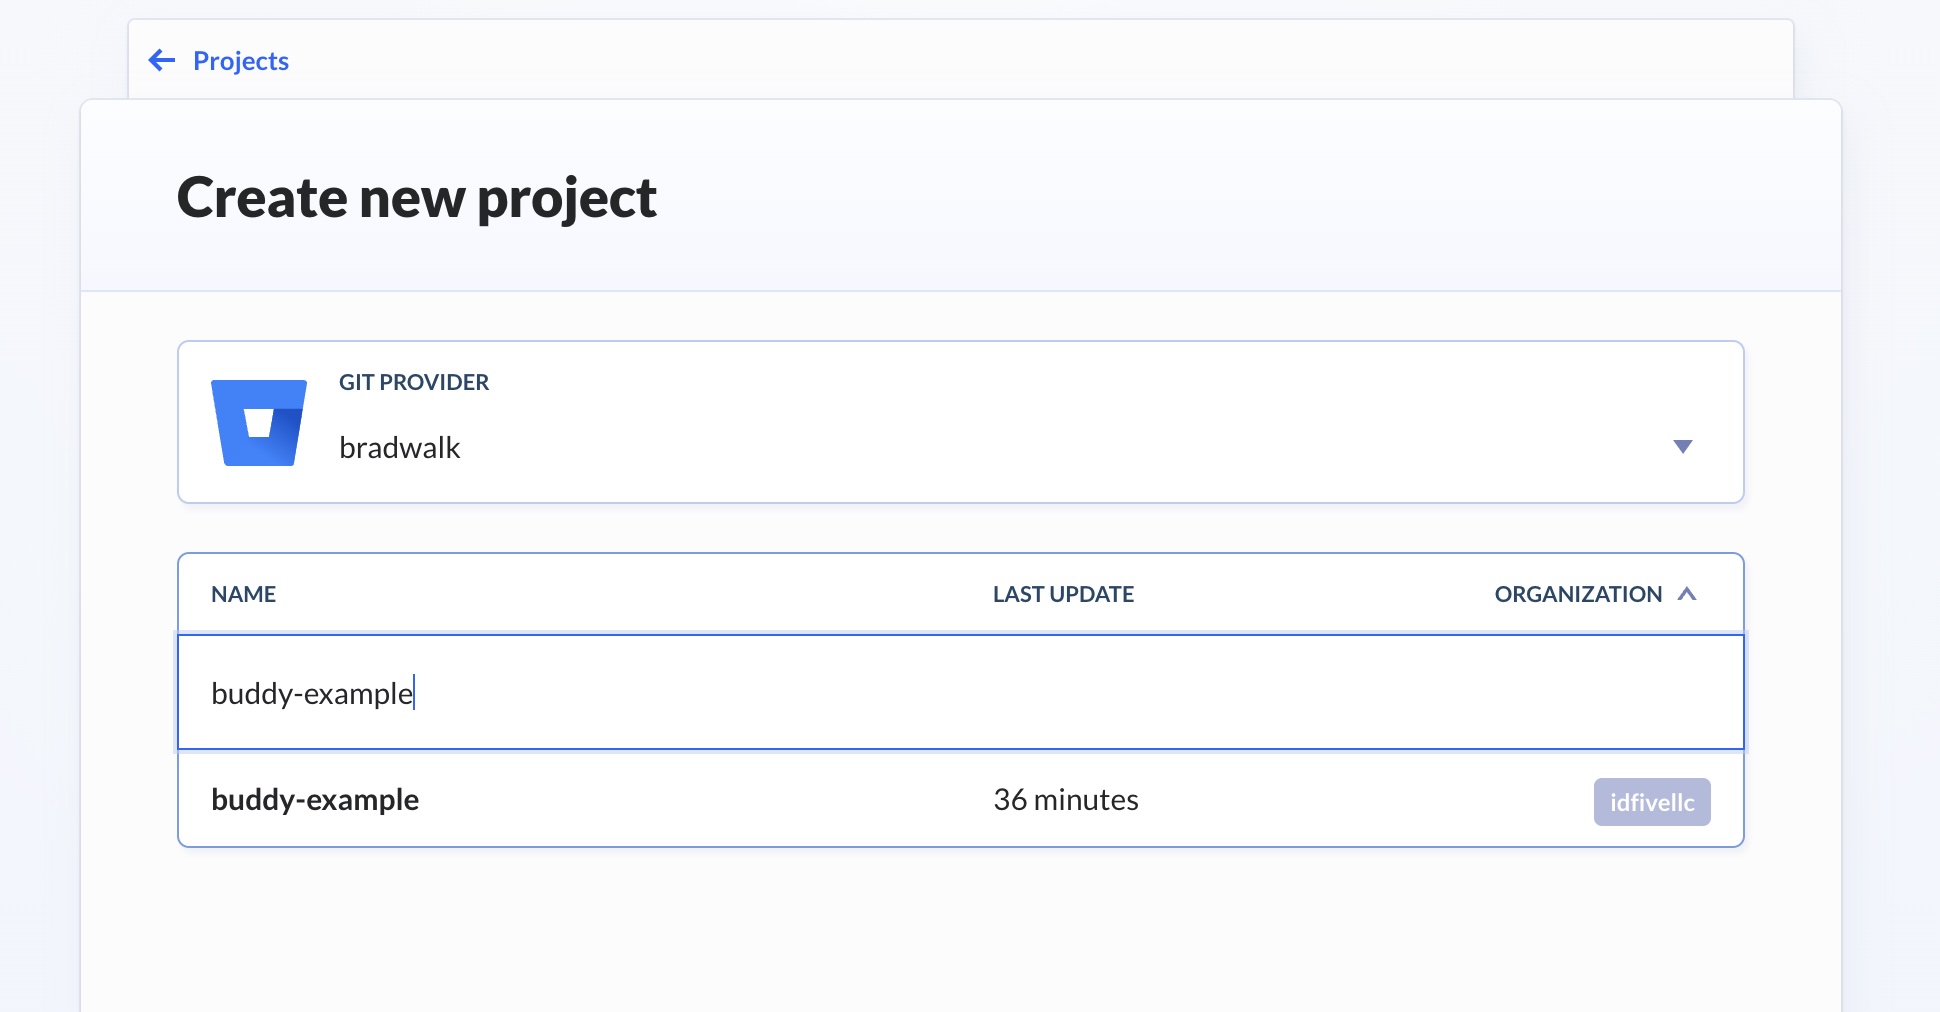
- The next screen in Buddy will give the opportunity to select the Bitbucket repo created in the previous steps, select and the import process will begin
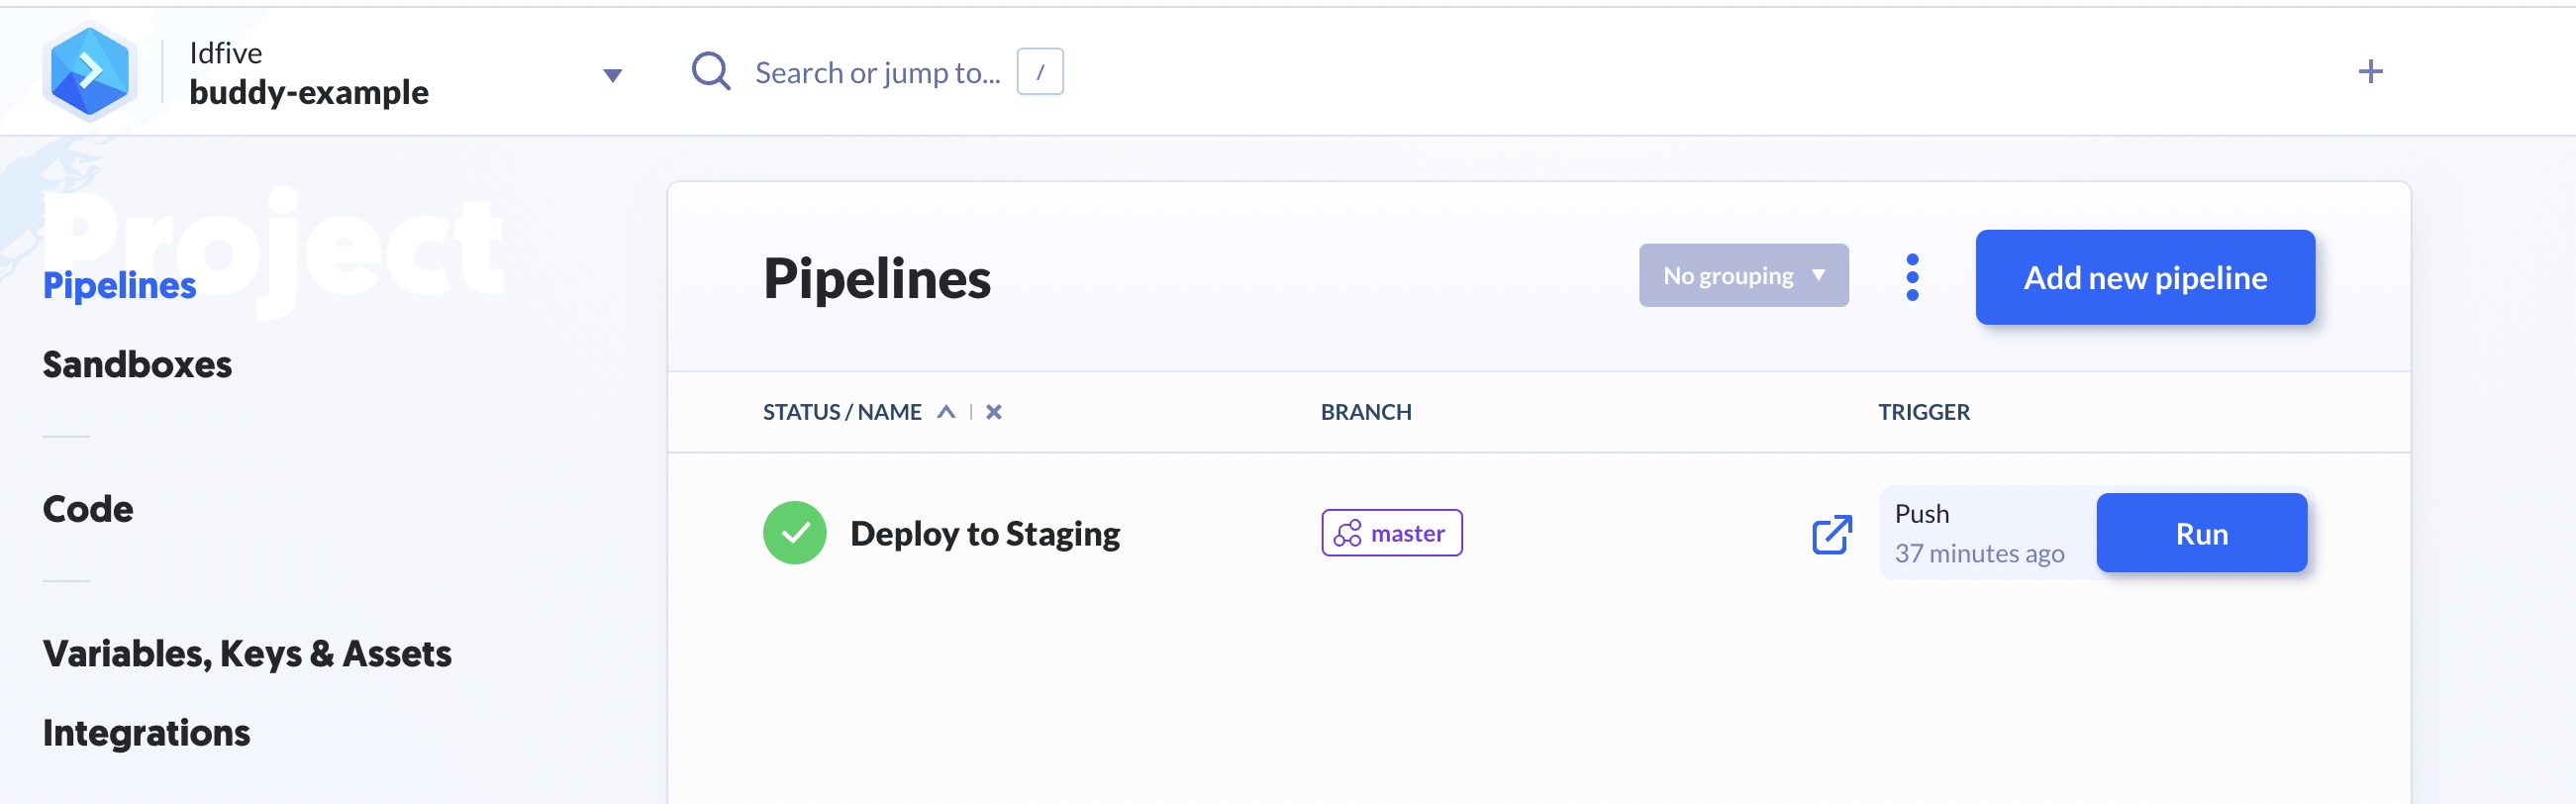
- Once the import is complete, go to the project and click "Pipelines" from the left. You should see a pipeline imported from the yml file called "Deploy To Staging", select this pipeline.
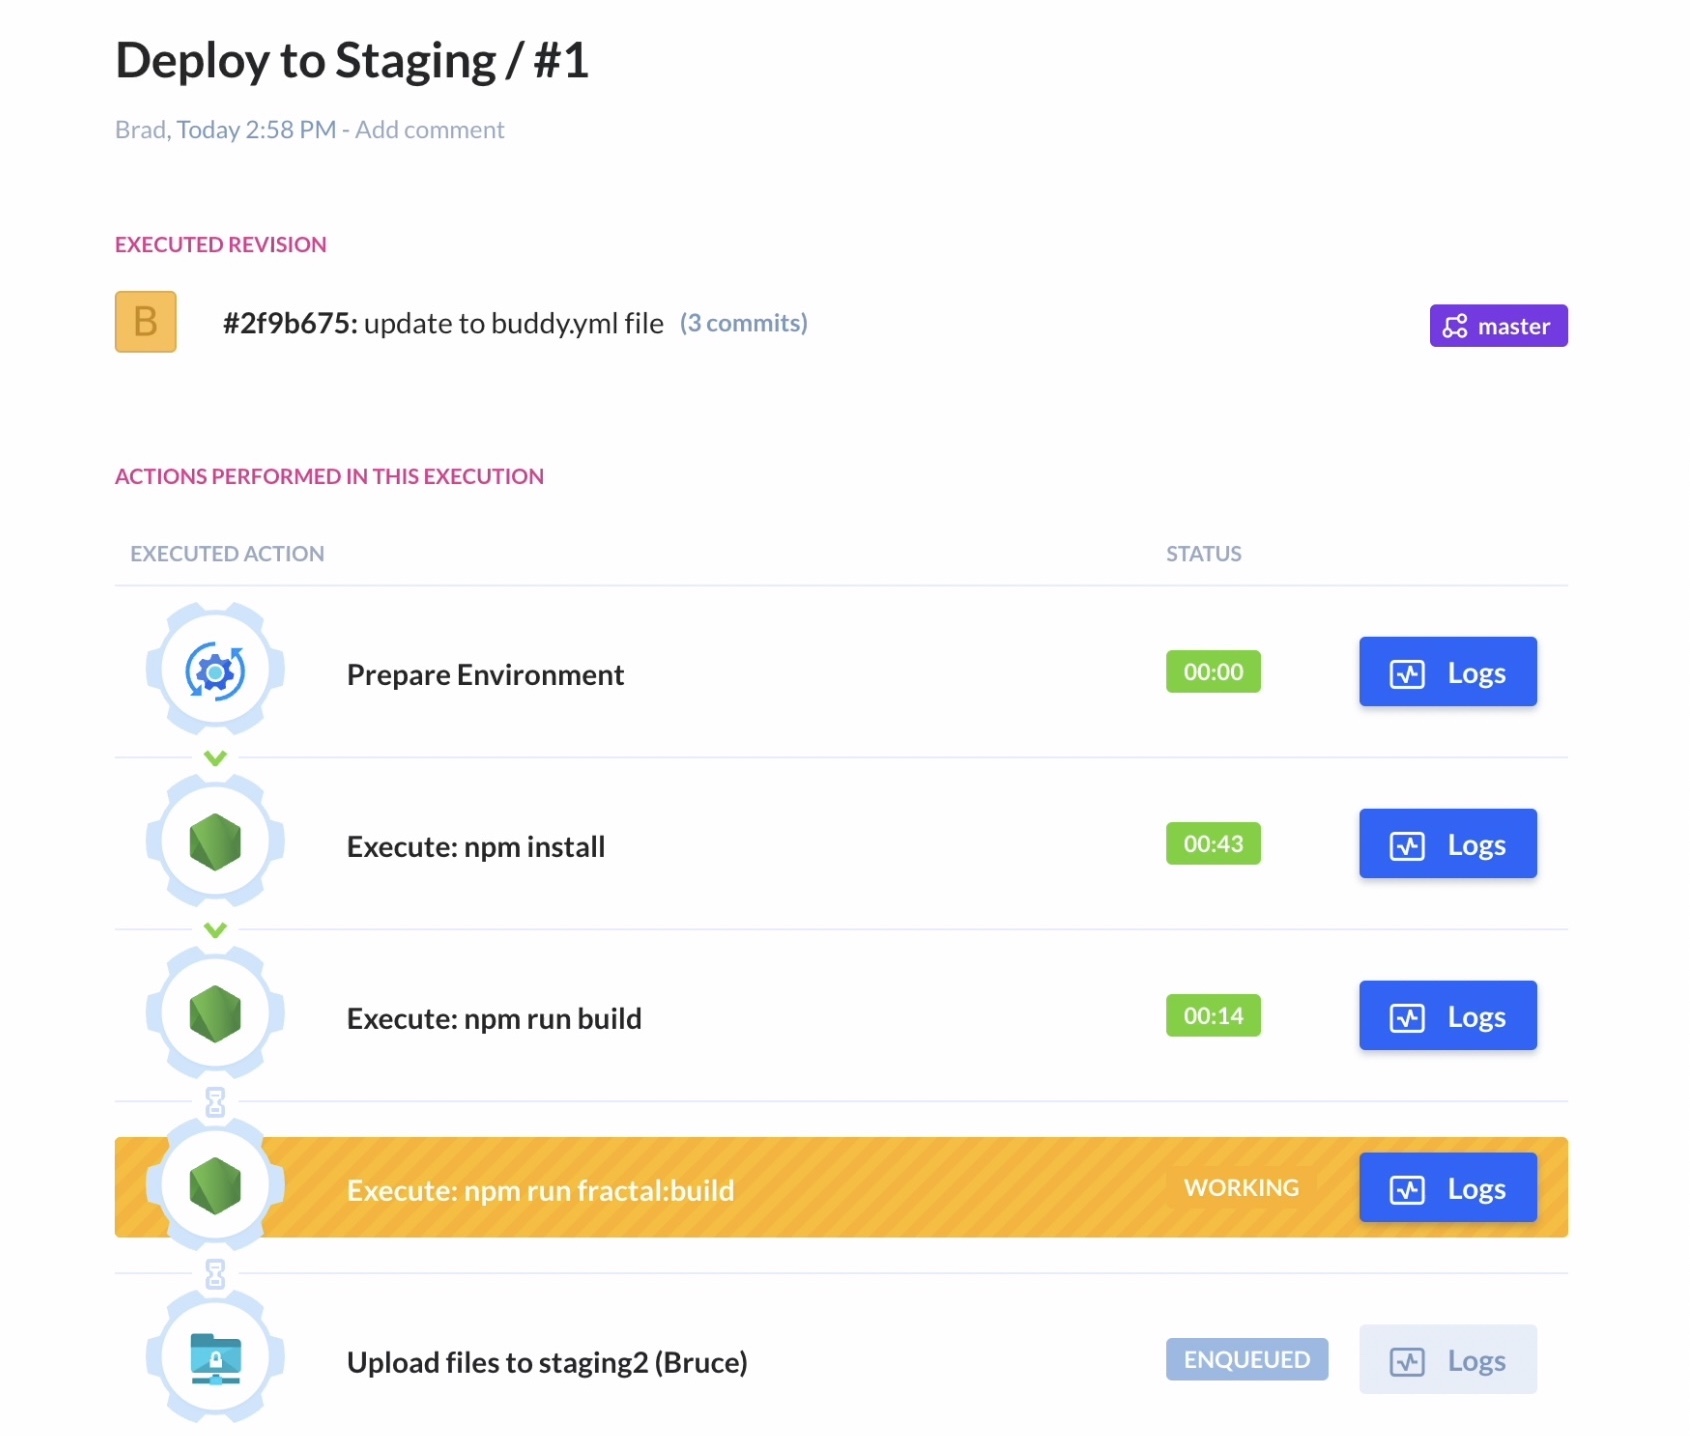
- In the pipeline screen you should see the steps listed out that will be performed:
Execute: npm install,Execute: npm run build,Execute: npm run fractal:build&Upload files to staging2 (Bruce). ClickUpload files to staging2 (Bruce)to get the ssh key to authenticate.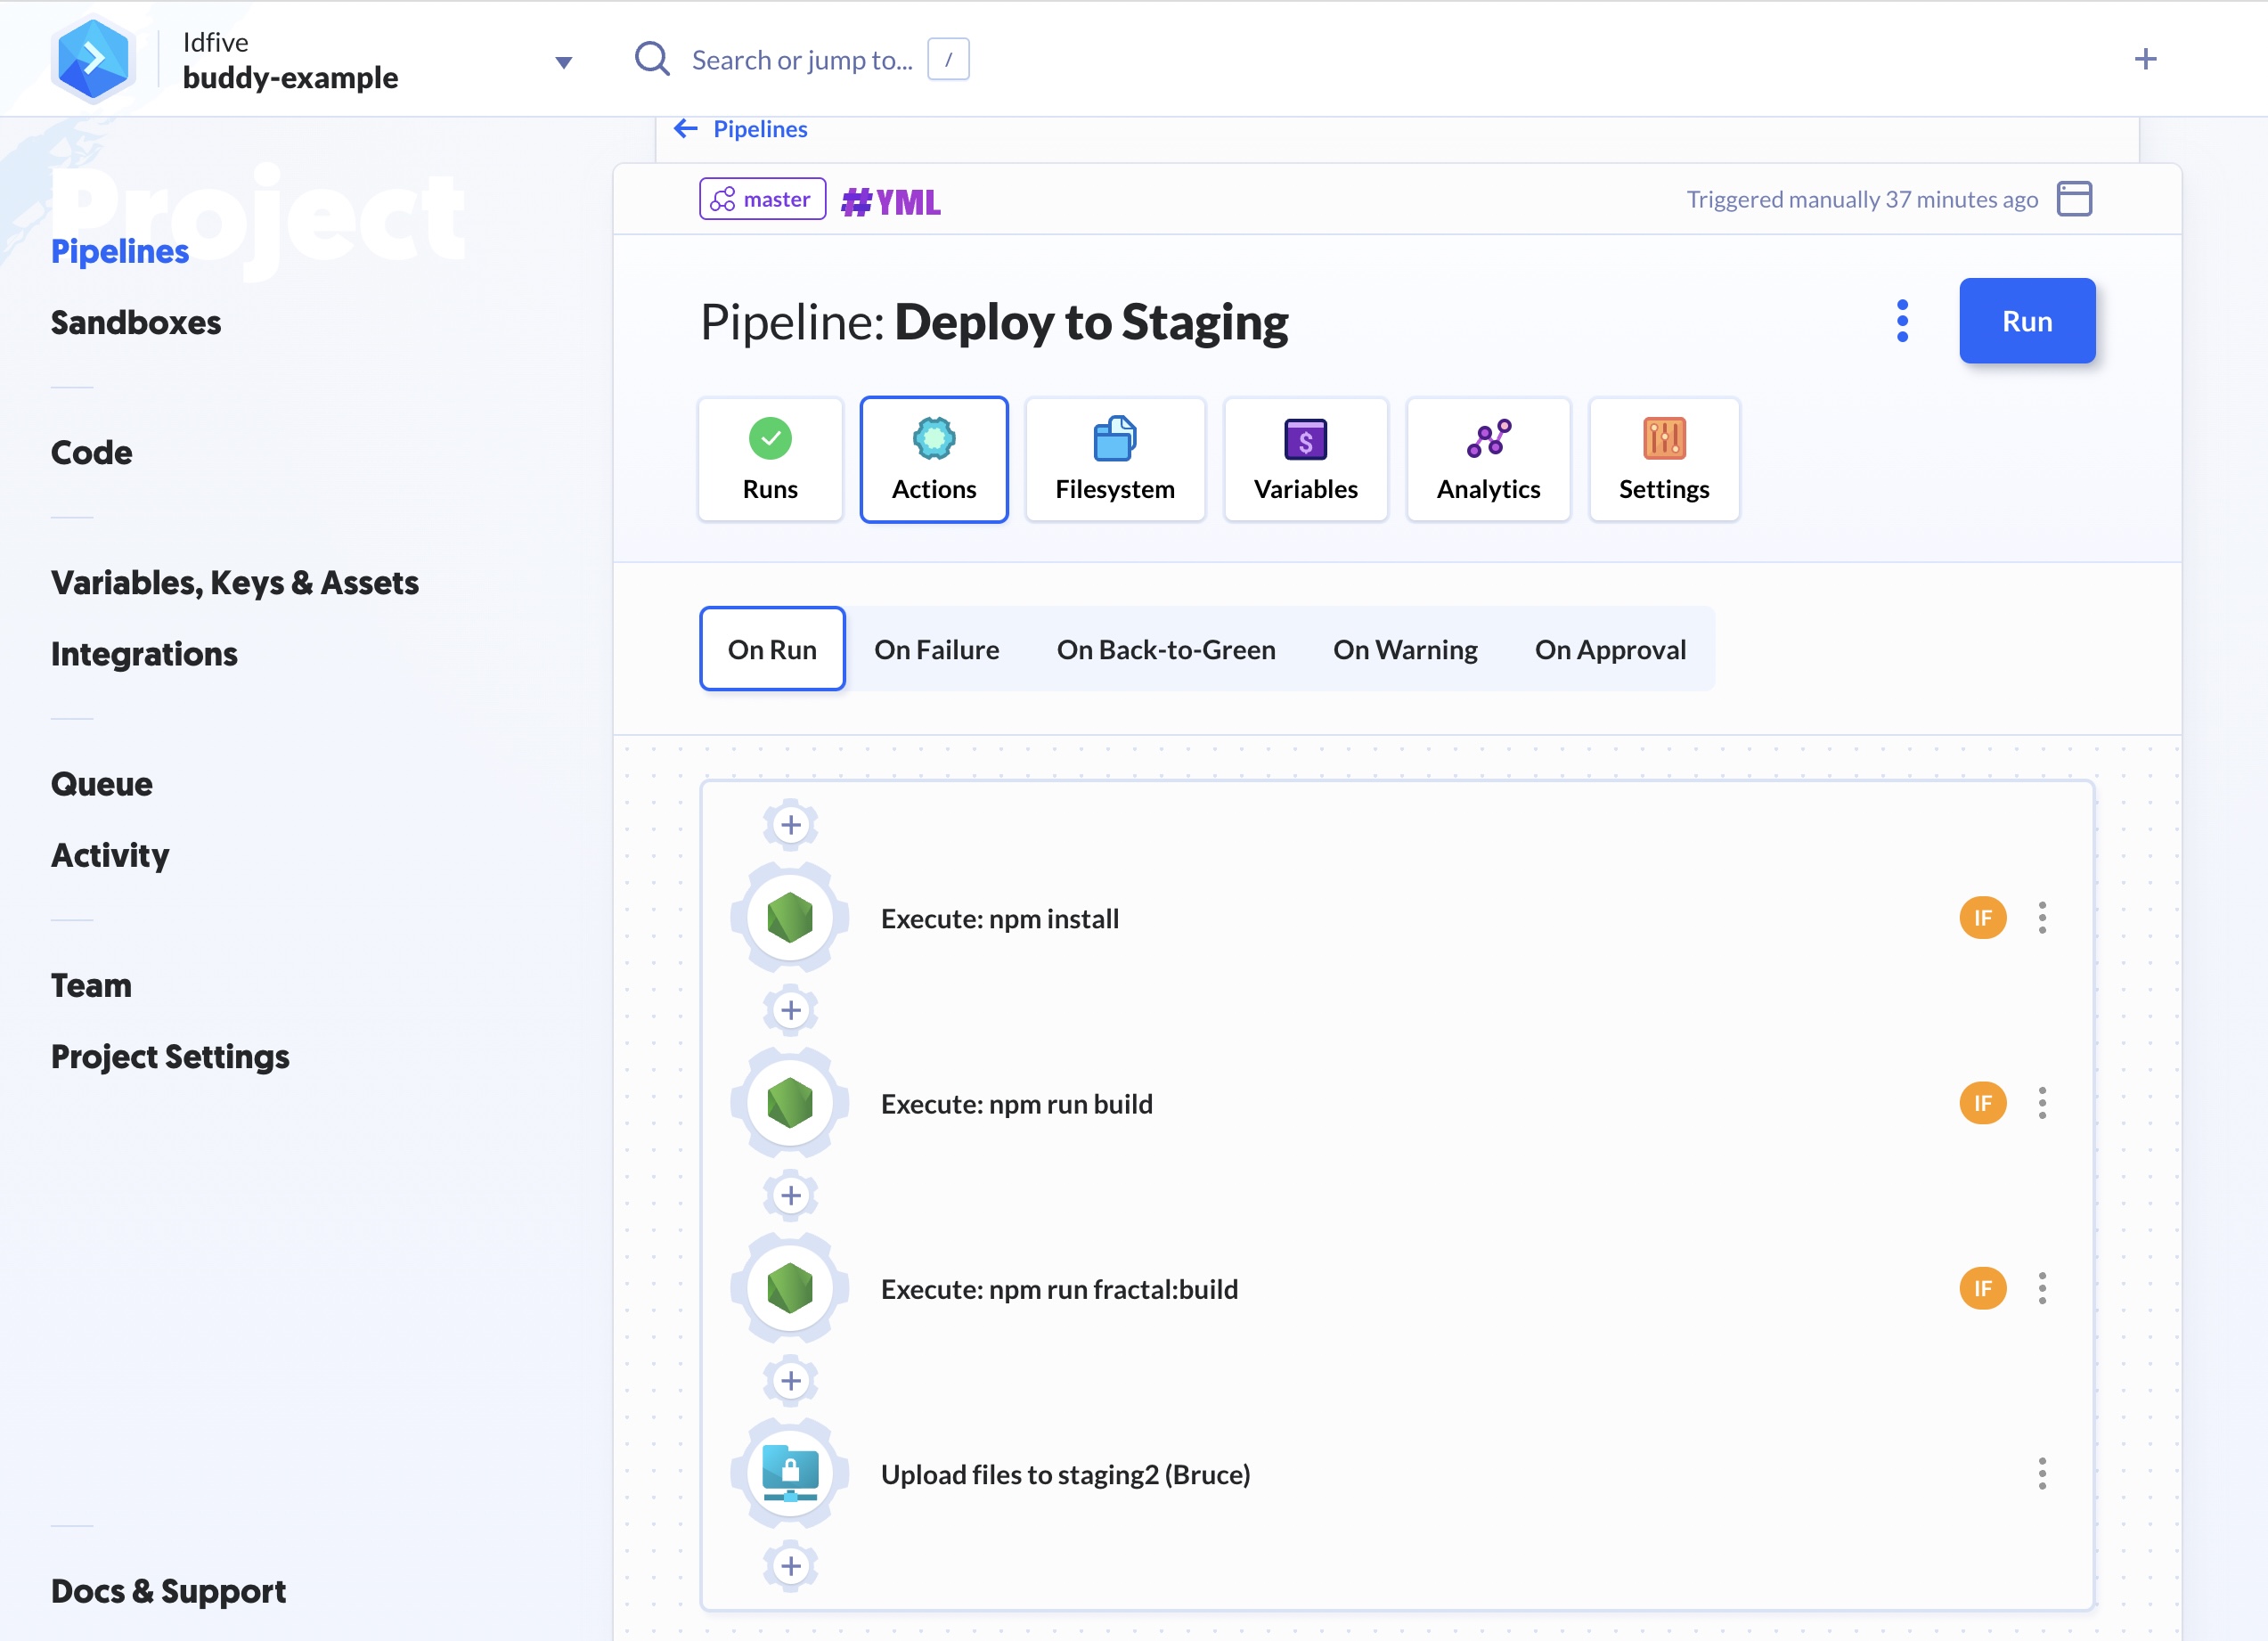
- In the
Upload files to staging2 (Bruce)screen, click on the "Target" link (in-between the "Transfer" and "Options" items). - In the "Target" screen, scroll down to "COMMANDS TO ADD PUBLIC KEY TO YOUR SERVER" and select and copy everything from
'ssh-edto[name of your project] Key'(see screenshot)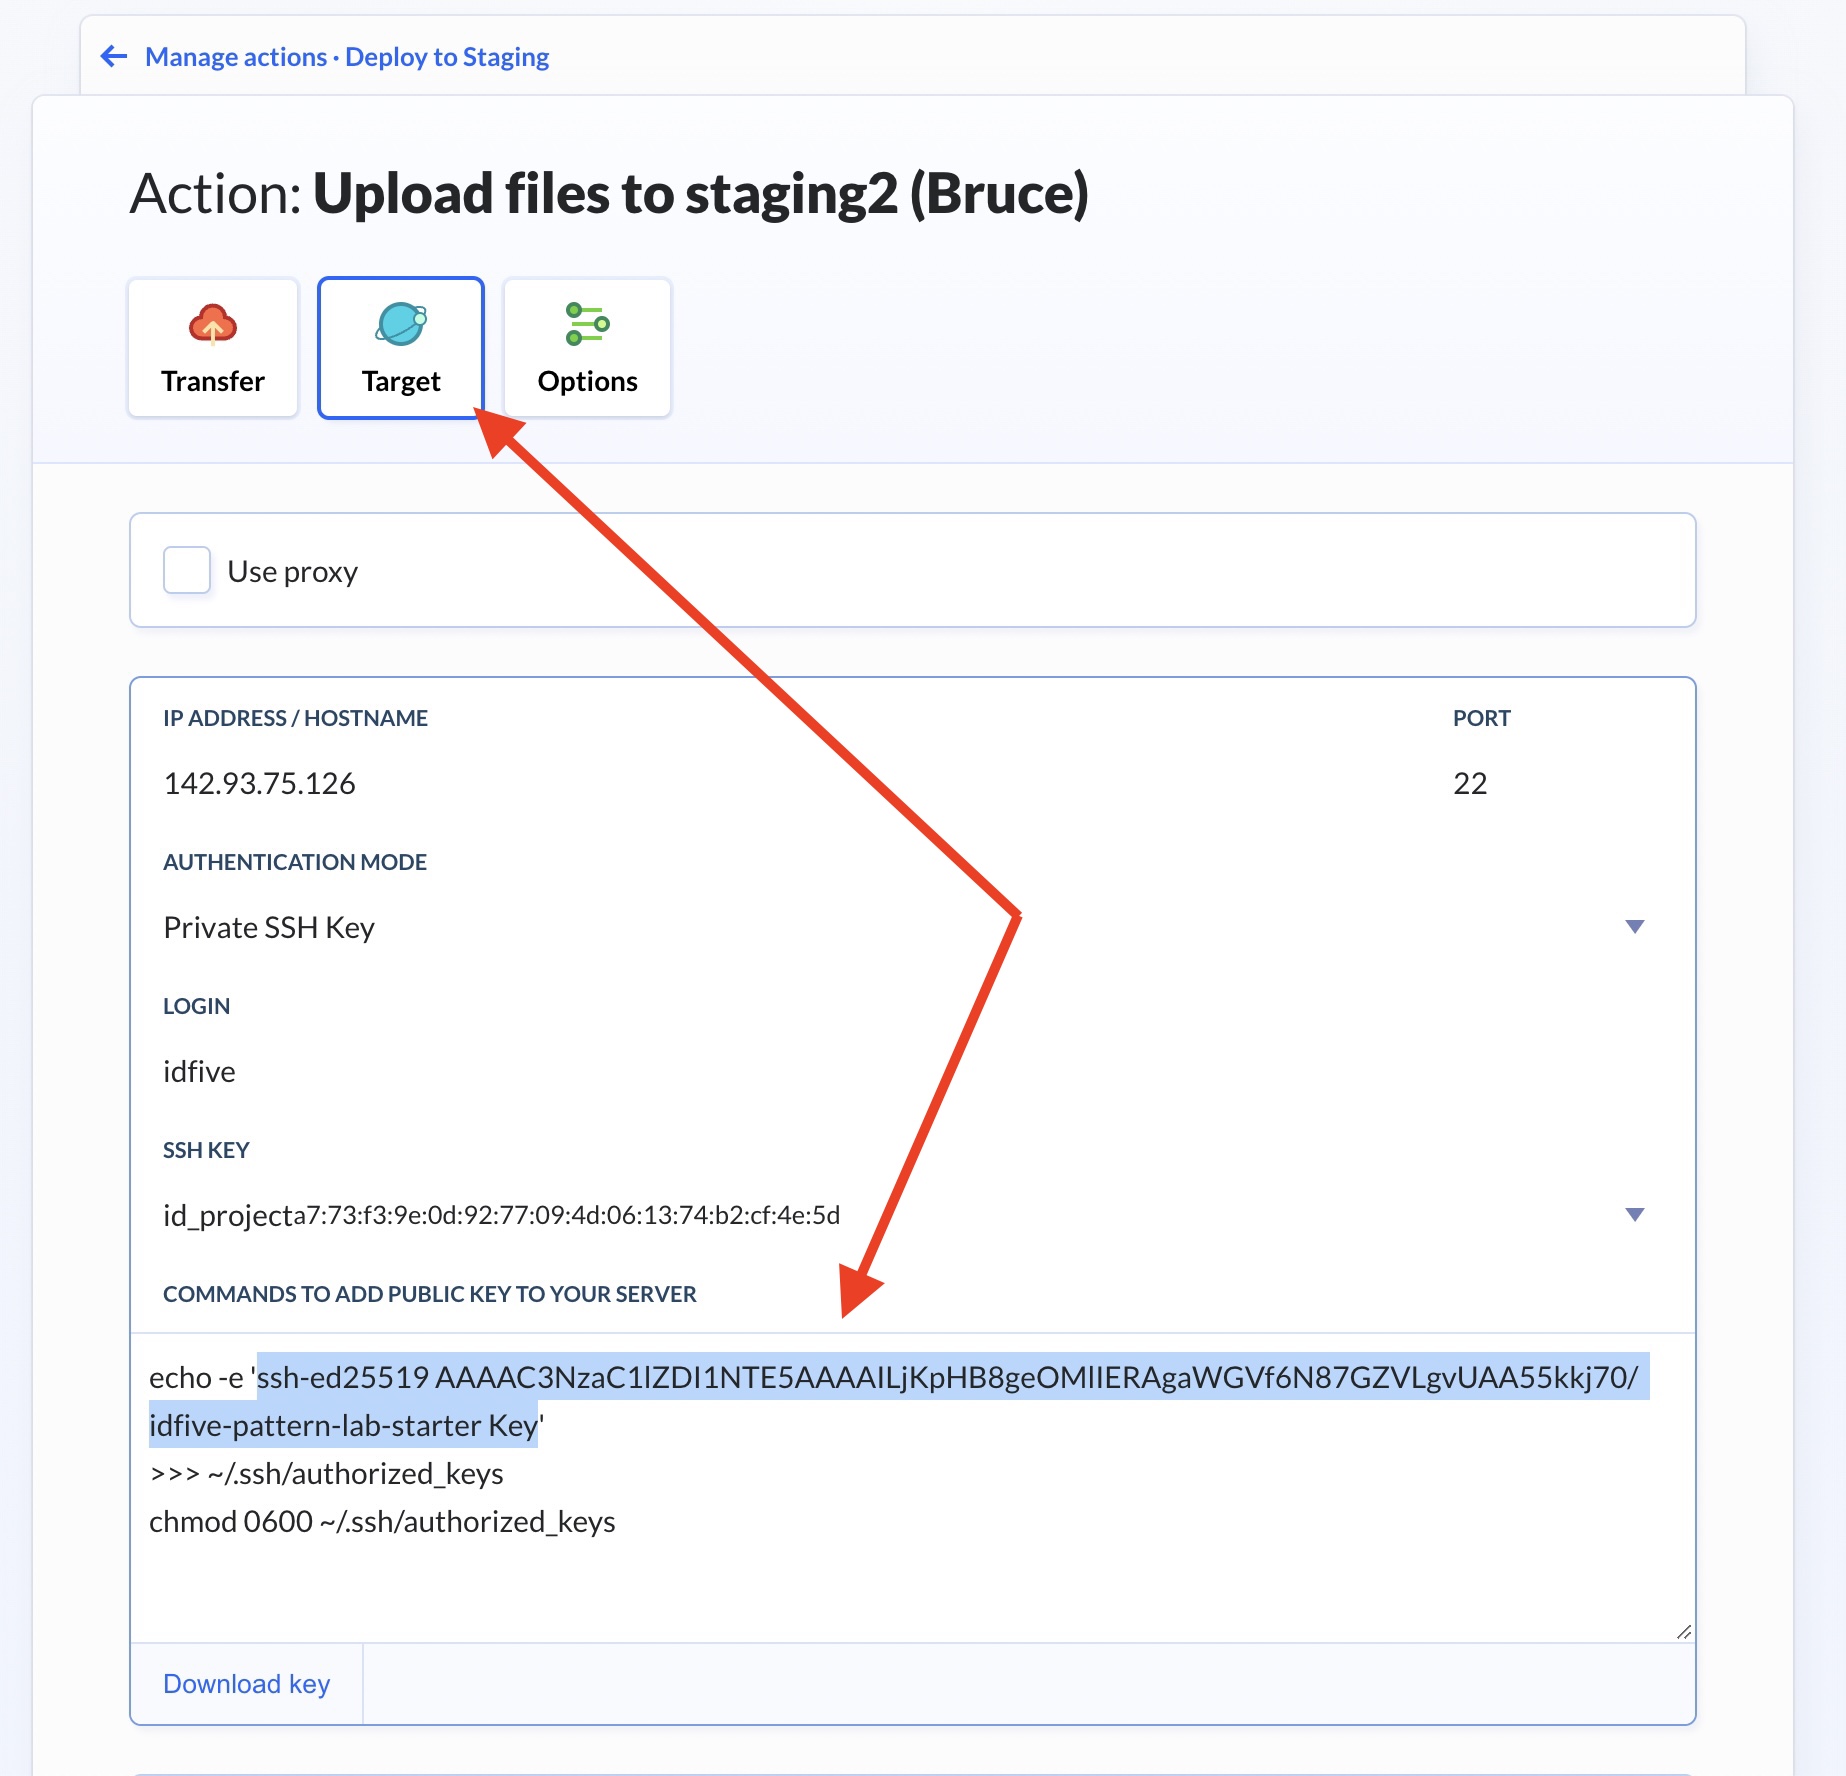
Paste ssh key from Buddy onto server
- On the staging server
ssh idfive@staging2.idfive.com(if not still there), runnano ~/.ssh/authorized_keysto edit theauthorized_keysfile - Navigate to the bottom of this screen and paste in the code that's been selected from above
- Type
^Oto save and then^Xto exit, then runexitto log out of the server
Deploy and confirm
-
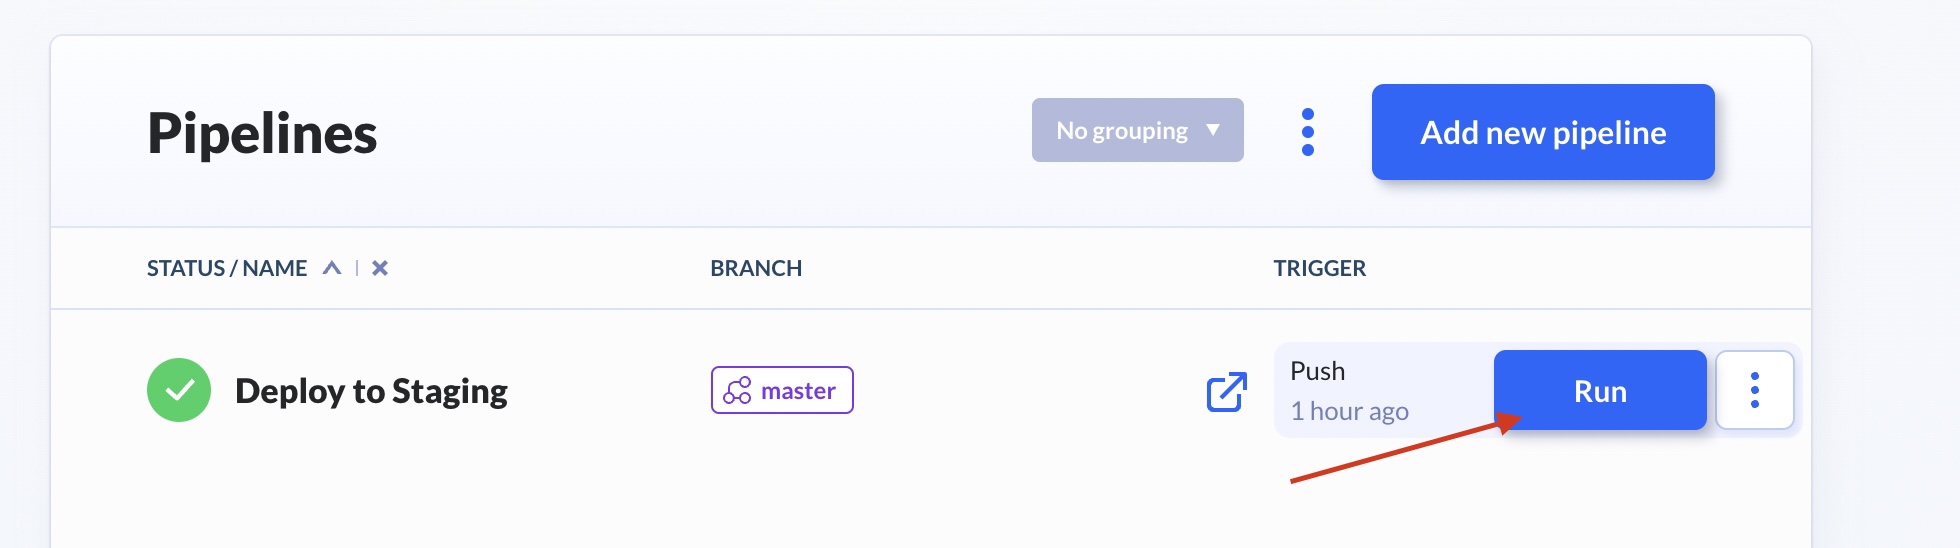
Back in Buddy from either the main Pipeline of the project, or from within the "Deploy to Staging" pipeline — click "Run"
-
You can see Buddy work through each step (and the duration per step) from within the "Deploy to Staging" screen by clicking "Actions" while it's running
-
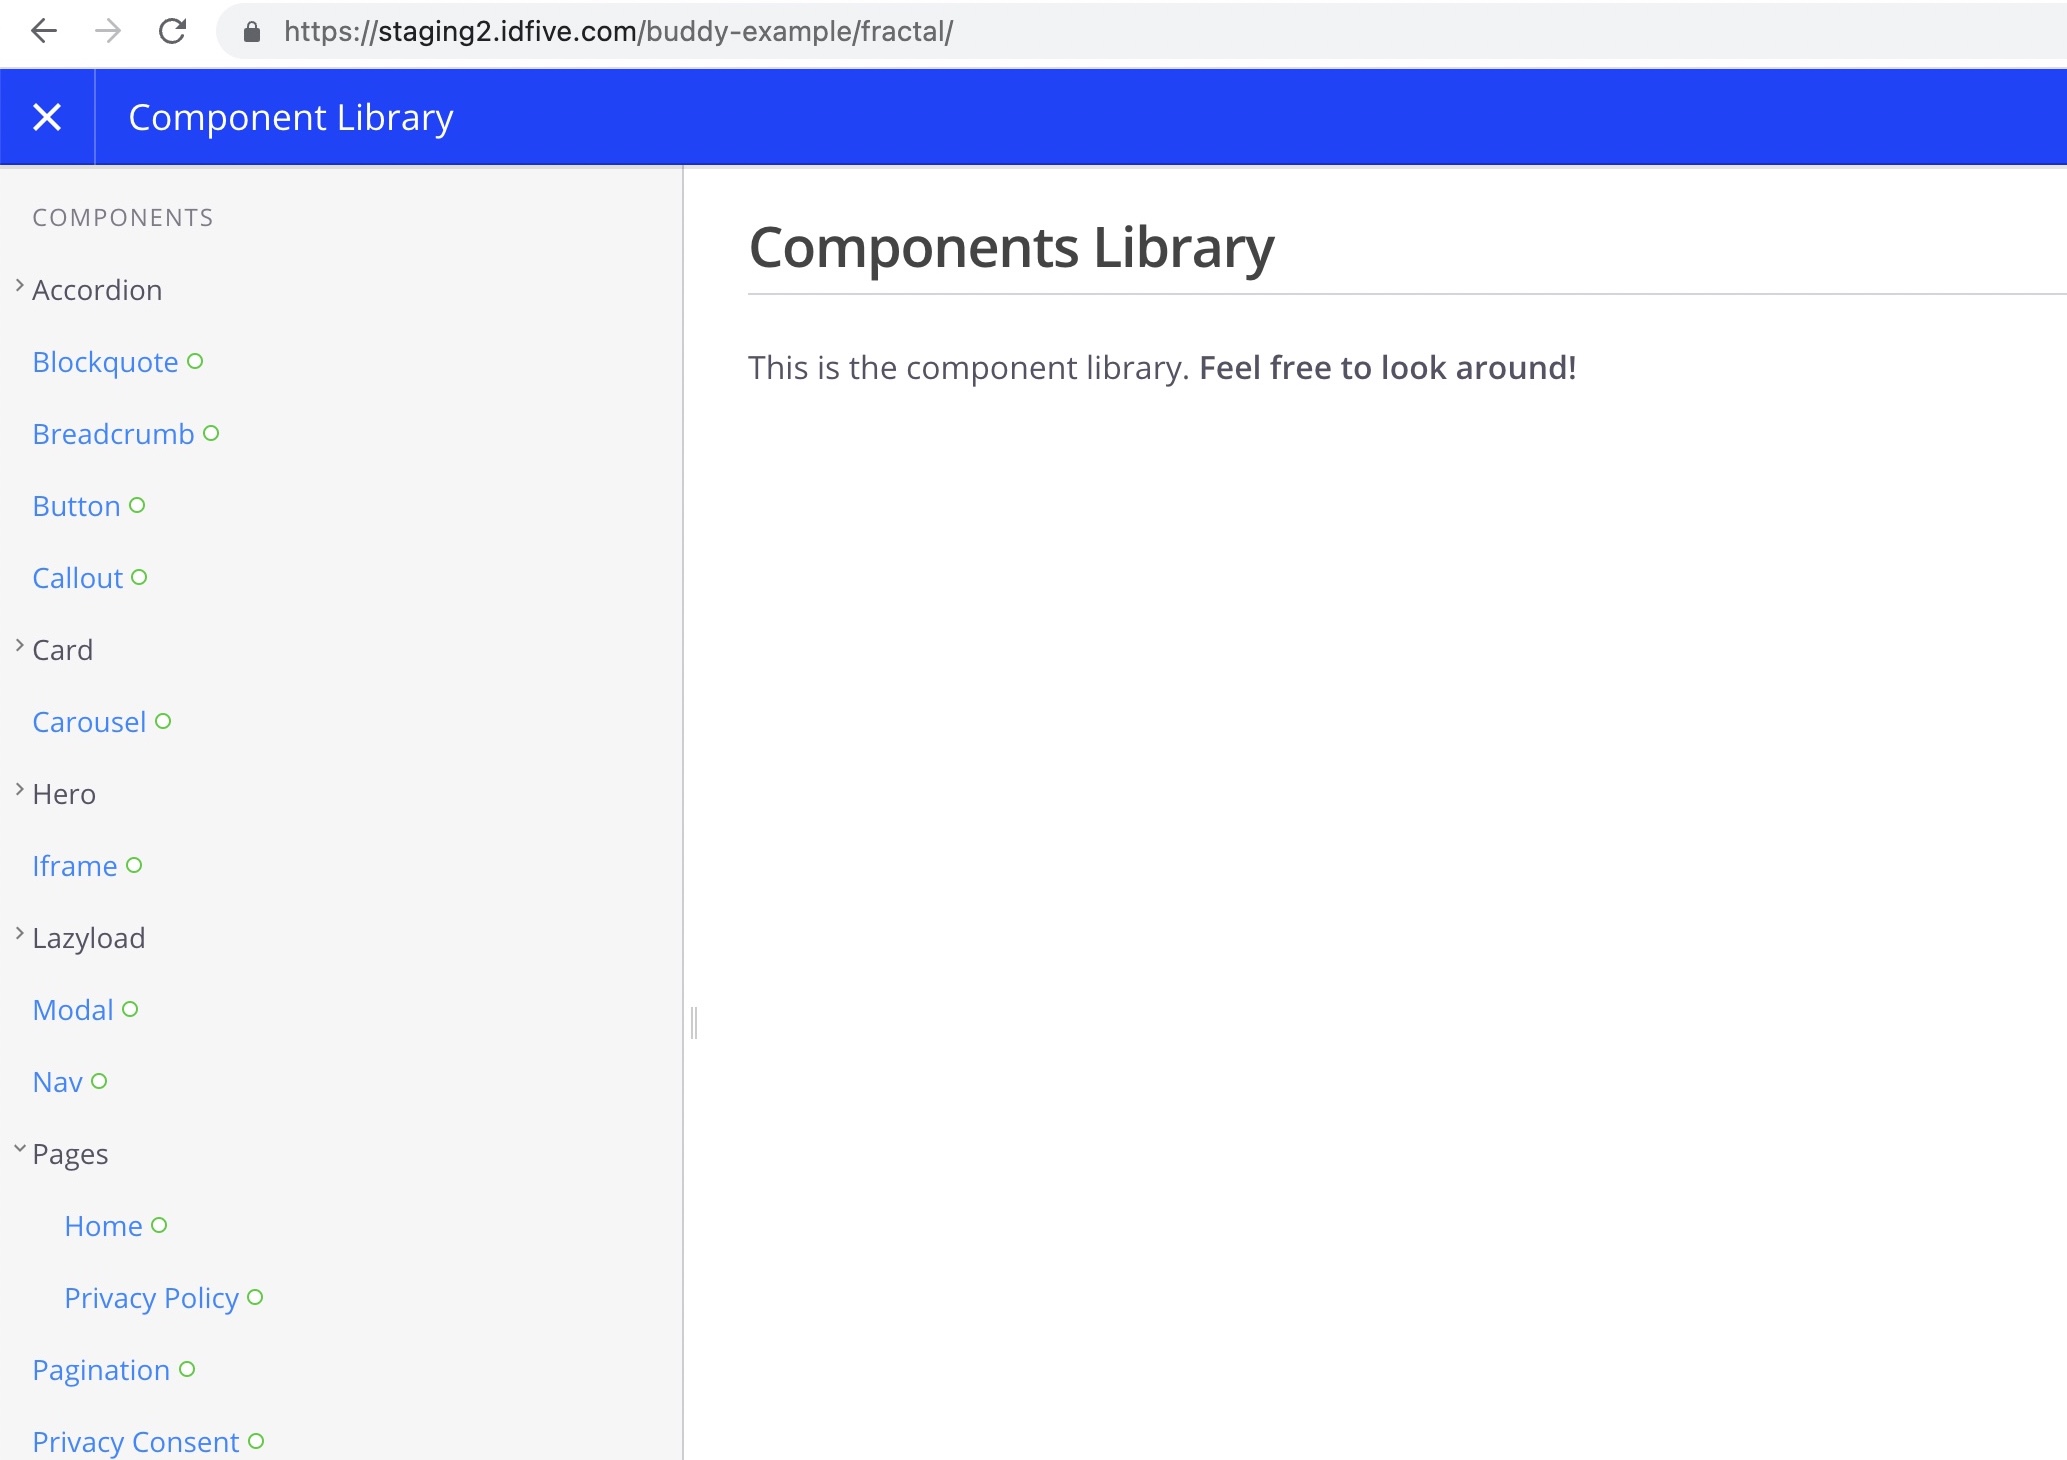
If all steps have completed successfully, visit the staging site to confirm. The will be
https://staging2.idfive.com/[your-new-site-name-here]/public/